What a “Result” Really Means in Teeth Whitening
The word result is used loosely in cosmetic dentistry. It can mean the shade recorded on a chart, the difference noticed in the mirror, the reaction of a friend who has not seen you for a month, or simply no longer covering your mouth in photographs. These are not the same measurement and they do not always move together. A change that looks modest on a shade chart can feel substantial to the person living with it, while a change that photographs dramatically can look unremarkable across a dinner table.
Whitening breaks down what has accumulated in and on the tooth. It does not replace the tooth’s underlying colour with a new one, so the ceiling of any result is set by biology, and the job of a good assessment is to describe that ceiling beforehand rather than discover it afterwards. The overview of whitening approaches explains how different methods work; this page is concerned with what those methods produce.
Any before and after images published on this site in future should be the practice’s own documented cases, photographed under consistent lighting and camera settings, and shared only with the explicit, recorded consent of the person in the photograph. Every image position on this page is currently a labelled placeholder held open for that purpose.
How Tooth Shade Is Measured
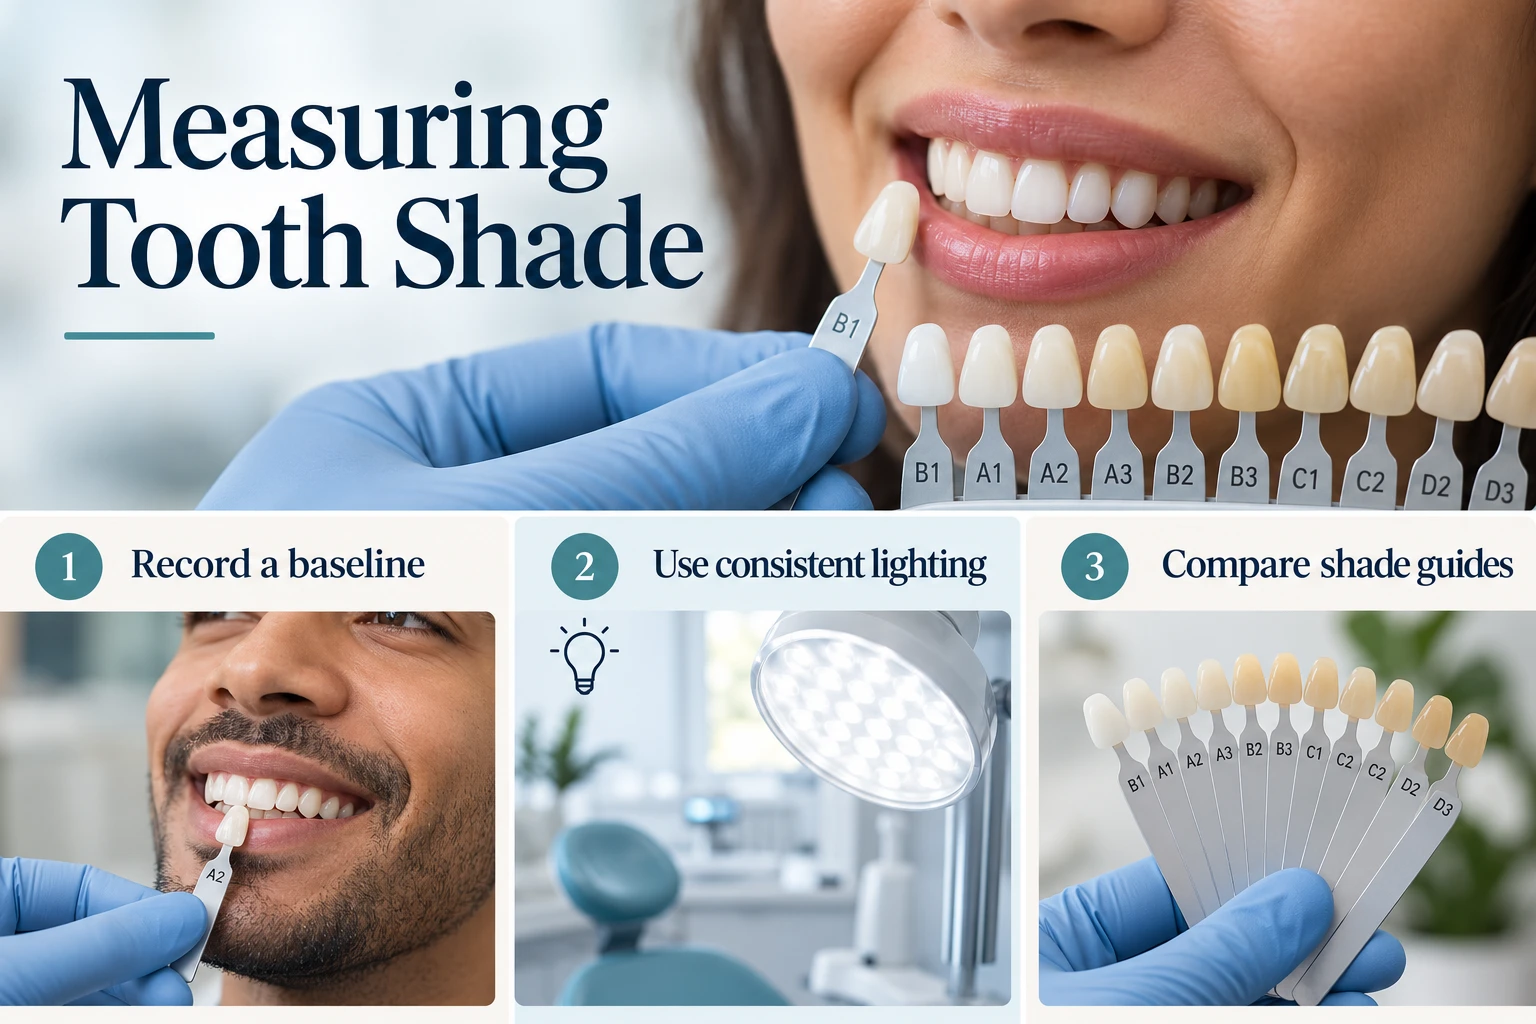
Tooth colour is most commonly recorded using a visual shade guide: a physical set of small ceramic or resin tabs, each manufactured to a defined colour, mounted on a handle so they can be held against a tooth for comparison. The clinician selects the closest-matching tab and records its designation, which becomes the baseline for any later reading.
The tab ordering concept
Guide tabs can be arranged in different ways. Some guides group them by hue family — reddish-brown, reddish-yellow, greyish — which helps when matching a restoration to a neighbouring tooth. For whitening, the tabs are usually rearranged into a single sequence running from lightest to darkest. Once ordered that way, a shade change can be described as movement along the sequence: a tooth that matched the sixth tab and now matches the second has moved four positions.
That movement is where the phrase “a number of shades lighter” comes from. It is a count of positions along an ordered set of physical tabs, not a reading from an instrument. It is genuinely informative, because it captures the direction and rough size of the change in a way both clinician and patient can see — but it is comparative rather than absolute.
Why it is comparative, not an exact unit
The steps between tabs are not evenly spaced in the way centimetres are evenly spaced on a ruler; some neighbouring tabs differ subtly, others more noticeably. Guides made by different manufacturers do not necessarily contain equivalent tabs, so three positions on one guide is not automatically the same visual change as three positions on another. A shade-change figure quoted without saying which guide was used, and under what conditions, therefore carries less meaning than it appears to.
Perception adds a further layer. Matching a tab to a tooth is a judgement made by a human eye, and the eye adapts: staring at a tooth for more than a few seconds fatigues the colour receptors and biases the match. This is why clinicians tend to decide quickly and look away at a neutral grey surface between attempts.
Lighting and calibration
Colour does not exist independently of the light falling on it. A tooth assessed under warm domestic lighting reads differently from the same tooth under cool daylight. Practices that take shade recording seriously standardise the conditions: colour-balanced lighting, a neutral background, lipstick and bright clothing covered, and the tooth clean and moist. Repeating the reading in the same room, at the same time of day, with the same guide is what makes the before and after figures comparable.
Some practices supplement the visual reading with a digital shade-measuring device. These reduce observer variation and give a repeatable numeric output, but they too depend on calibration and consistent positioning. Neither method turns tooth colour into a universal unit; both simply make the comparison more disciplined.
Why Your Baseline Shade Matters Most

Of everything that influences a whitening outcome, the single most powerful factor is where you start. Teeth that begin at the darker end of the ordered tab sequence have more accumulated discolouration available to be broken down, and consequently more room to move. Teeth that are already fairly light have less to remove, so the same treatment produces a smaller measured change — not because it worked less well, but because there was less to work on.
This produces an effect that surprises people. Someone with visibly stained teeth may record more positions of movement than someone with mildly dull teeth, yet the second person may be happier because the finished shade is lighter in absolute terms. The number of shades and the final shade are different things, and satisfaction usually tracks the second more closely.
There is also a practical ceiling. Whitening acts on the discoloured organic molecules within enamel and dentine; it cannot make a tooth lighter than its own structure allows. Two people following an identical protocol with an identical gel can finish at noticeably different shades simply because their dentine differs in colour and their enamel in thickness. Neither has done anything wrong.
A considered assessment therefore records the baseline formally before anything begins, ideally with a photograph taken alongside the matched tab under controlled lighting. Without that record, the later comparison is made against memory, and memory of colour is unreliable. Most people substantially underestimate how dark their teeth were beforehand, which is a common reason a genuine improvement feels smaller than it is.
What Determines Your Result
Beyond the baseline, a cluster of biological and behavioural factors decides how far and how evenly a tooth lightens. Understanding them explains most of the variation between individuals, and several of them are within your influence.
For people considering Professional teeth whitening in Nottingham, these individual factors are worth understanding before treatment, as the achievable result can vary considerably from one person to another.
Stain type
Discolouration sitting on or just within the outer surface, acquired from food, drink and tobacco, is chemically accessible and breaks down readily. Colour built into the tooth during its formation, or arising from within after injury, is far less accessible. After baseline shade, this is the strongest predictor of responsiveness.
Enamel thickness and translucency
Enamel is semi-translucent, so the colour you see is partly the enamel and partly the dentine showing through it. Thin or highly translucent enamel lets more dentine colour through, and can give the biting edges a grey, glassy look that whitening does not alter.
Dentine colour
Dentine is naturally more yellow than enamel and dominates overall tooth colour. Whitening agents do reach it, but its inherent colour sets much of the achievable end point: naturally deeper dentine finishes warmer, whatever the protocol.
Age
Over decades, enamel thins through wear and acid exposure while dentine thickens from the inside, producing a gradual and entirely normal warming of colour. Mature teeth still respond, but the end point sits slightly warmer than it would have done in the same mouth years earlier.
Dehydration during treatment
Teeth held open and exposed to air lose surface moisture and temporarily appear lighter and more opaque. This affects how a result looks on the day rather than what the result actually is, and it is the single biggest source of misleading immediate impressions.
Oral hygiene and compliance
Gel can only act on surfaces it reaches. Plaque and calculus block contact, and a tray worn for less time than instructed delivers less total exposure. With take-home programmes, consistency across the full course matters more than the strength of any single session.
These factors interact rather than adding up neatly. Thin enamel over deeply coloured dentine with good compliance behaves differently from thick enamel over pale dentine with erratic tray wear. It is the combination a clinician weighs when describing a realistic range, which is why a meaningful prediction cannot be made from a photograph or a telephone description.
Extrinsic Staining: The Most Predictable Results
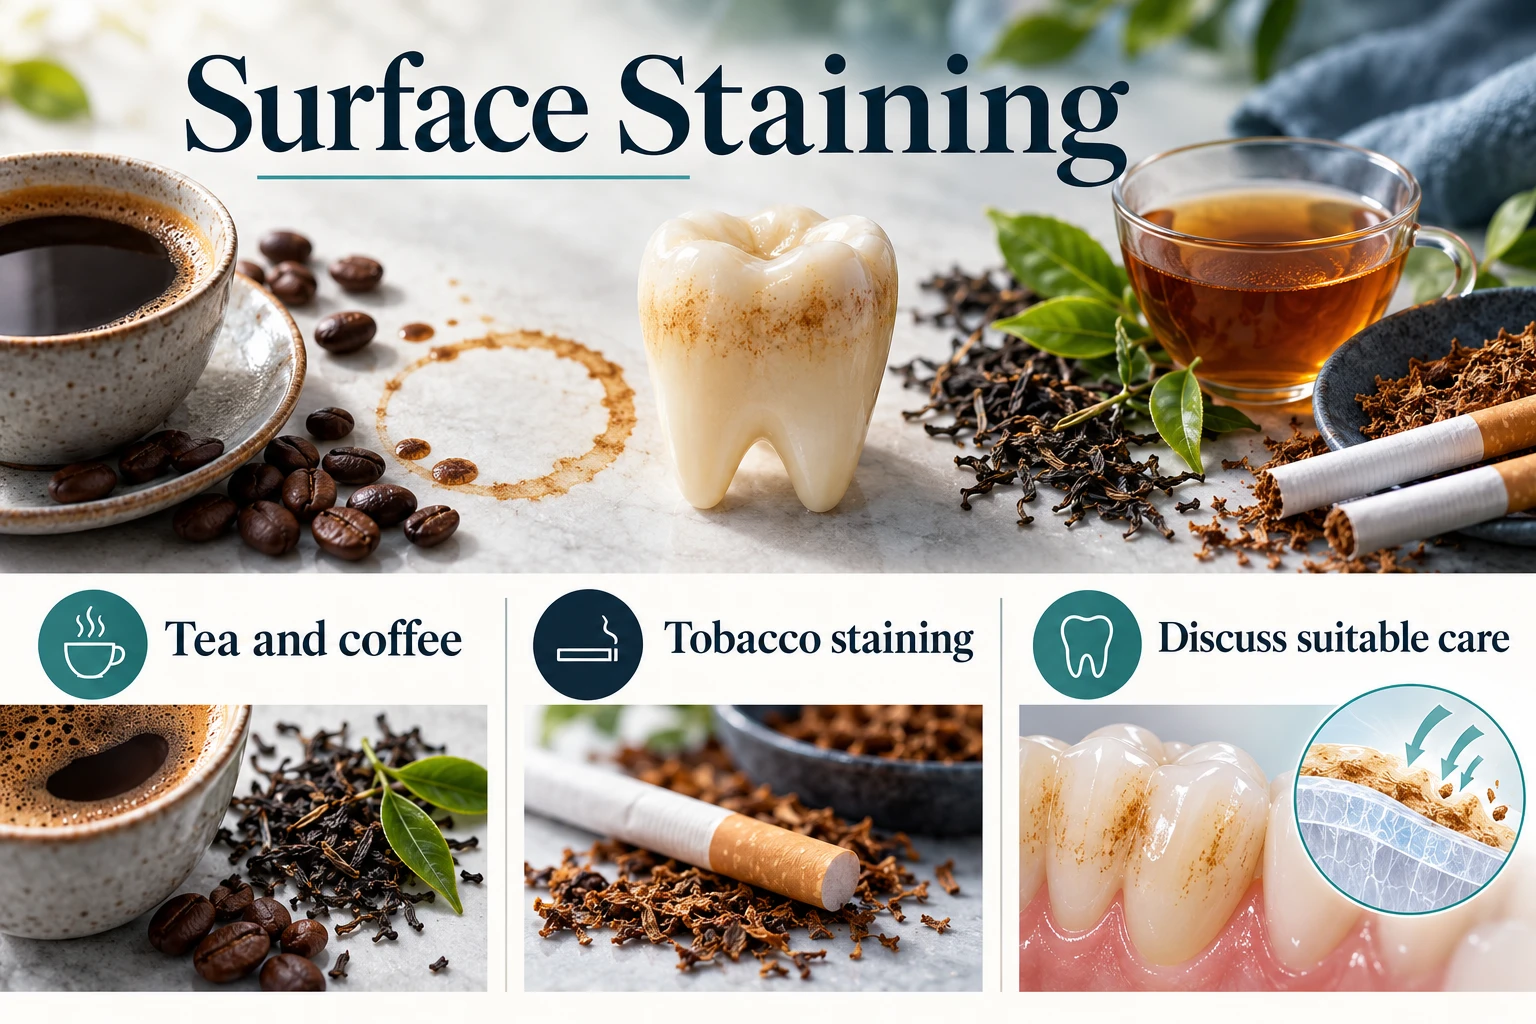
Extrinsic staining is discolouration that accumulates on the outer surface of the tooth and in the outermost layer of enamel. It is caused by chromogens — strongly coloured molecules found in many everyday foods and drinks — together with tannins, which help those molecules bind to the acquired protein film that naturally coats teeth throughout the day.
The familiar culprits are familiar for good reason. Tea and coffee are tannin-rich and heavily pigmented. Red wine combines pigment, tannin and acidity, the last of which briefly softens the enamel surface and makes it more receptive. Colas pair colouring with acidity. Dark berries, beetroot, soy sauce, balsamic vinegar, turmeric and richly coloured curry sauces all deposit pigment readily. Tobacco produces a particularly tenacious yellow-brown deposit because tar adheres strongly to enamel.
Because these deposits sit in the accessible outer layers, they are exactly what peroxide-based whitening chemistry is best at breaking down. Results in predominantly extrinsic cases are typically the most even and the most predictable. They also respond best to a professional clean beforehand, since removing plaque and calculus lets the gel contact the whole surface uniformly.
One nuance is worth flagging. A significant part of what looks like staining in a heavy tea or coffee drinker may be deposit sitting on plaque and calculus rather than on the tooth itself. That portion responds to cleaning, not whitening, and separating the two is part of a proper assessment. It also explains why the change after a scale and polish can be noticeable before any gel has been used. Extrinsic staining is likewise the category that returns most readily, because the habits that produced it usually continue — a matter for maintenance rather than stronger chemistry.
Intrinsic Staining: Partial, Uneven or No Change
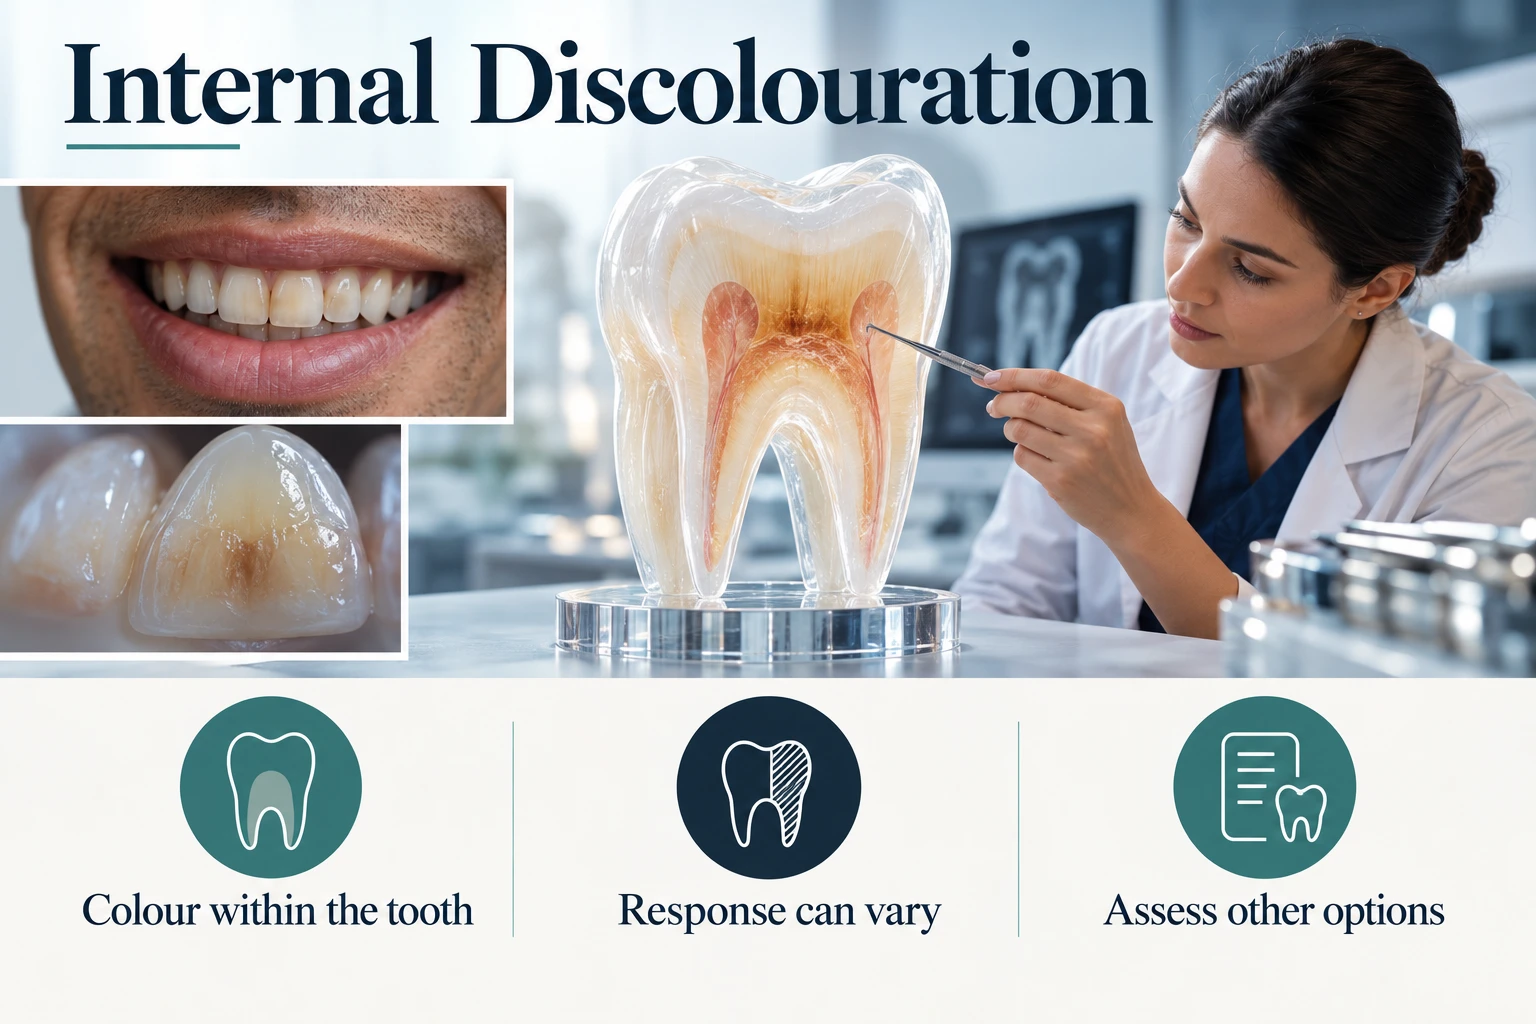
Intrinsic discolouration is built into the tooth rather than deposited on it, either while the tooth was forming or later from inside. Because the colour is distributed through the structure rather than concentrated at the surface, whitening chemistry engages with it far less efficiently, and outcomes are correspondingly less predictable.
Trauma
A knock can damage the blood supply within the pulp. Blood breakdown products then seep into the dentinal tubules and stain the tooth from the inside, typically producing one darkened tooth among normal neighbours. External whitening lightens the surrounding teeth but often leaves the affected tooth conspicuous. Where the tooth has been root treated, internal bleaching — placing the agent inside the tooth rather than outside it — is a recognised approach, though whether it suits a given case is entirely a clinical judgement.
Tetracycline banding
Certain antibiotics taken while teeth were developing can bind into the mineral structure and produce horizontal bands of grey, brown or blue-grey. Because the colour is laid down in layers, lightening the surrounding tooth can make the bands relatively more obvious rather than less. Some cases improve gradually with extended supervised treatment; severe banding frequently does not resolve satisfactorily through whitening alone.
Fluorosis
Excess fluoride during tooth formation alters how enamel mineralises, producing white flecks, opaque patches or, in more pronounced cases, brown mottling and surface pitting. Whitening lightens the background enamel and can reduce the contrast with mild white markings, sometimes making them noticeably less obvious. Heavier mottling and pitting behave less predictably.
Where whitening cannot reach the colour, other routes exist. Micro-abrasion addresses very superficial enamel markings; resin infiltration can reduce the visual contrast of certain white lesions; veneers cover the visible surface; crowns replace it. All are more interventive than whitening, several are irreversible, and they belong in a conversation with a registered dental professional rather than a decision made from a website. They are mentioned only so readers know alternatives exist.
| Type of discolouration | Typical responsiveness | What tends to help |
|---|---|---|
| Surface staining from tea, coffee, red wine and dark foods | Responds predictably | Professional cleaning first, then a supervised whitening programme; rinsing after staining drinks |
| Tobacco staining | Responds predictably, sometimes more slowly | Thorough cleaning, a longer supervised course, and stopping or reducing tobacco use |
| Age-related warming of tooth colour | Responds partially | Gradual supervised whitening with realistic end-point expectations |
| Single dark tooth following trauma | Responds partially and unevenly | Clinical assessment of the pulp; internal bleaching may be considered where appropriate |
| Mild fluorosis with white flecking | Responds partially | Lightening the background enamel to reduce contrast; micro-abrasion or resin infiltration in some cases |
| Pronounced tetracycline banding | Usually needs a different approach | Extended supervised treatment in selected cases; otherwise restorative options discussed with a clinician |
| Existing crowns, veneers, composite and bonding | Does not respond at all | Whiten natural teeth first, allow the shade to settle, then replace or re-match the restoration |
The Timeline of a Result
A whitening result is not a fixed point that arrives at the end of treatment. It moves for a while, and knowing the shape of that movement prevents both premature delight and premature disappointment.
Immediately after treatment
Teeth generally look at their lightest in the minutes after an in-practice session or after removing a tray. Some of this is real and some is not: during treatment the enamel loses surface moisture, and dehydrated enamel scatters light differently, appearing chalkier, flatter and lighter. The effect is most pronounced after a session in which the lips were held clear of the teeth for a prolonged period.
The first day or two
Saliva rehydrates the enamel within hours and the temporary opacity subsides, so some of the apparent lightness recedes as natural translucency returns. This is often described as the result “fading”, but nothing is being lost; the tooth is returning to its normal optical state. Any transient sensitivity typically settles over the same period.
The following week
Colour continues to settle. Small unevenness obvious on the day — a patch that looked lighter, an edge that looked more translucent — commonly becomes far less noticeable. This is also the window in which teeth are more receptive to picking up new pigment, which is why guidance about avoiding strongly coloured food and drink concentrates on the days straight after treatment.
Around two weeks
By roughly a fortnight the shade has generally stabilised and can be assessed fairly. A follow-up reading and photograph at this point give an honest picture of what the treatment achieved, and any decision about refinement or restorative matching belongs here. Judging a result on the day consistently overstates it; judging it at two weeks does not.
If you are recording your own progress, photograph at the same time of day, in the same place, with the same light source and without changing camera settings between sessions. A phone that automatically adjusts exposure and white balance can easily manufacture a difference that is not there — or hide one that is.
Reading Before-and-After Photographs Critically
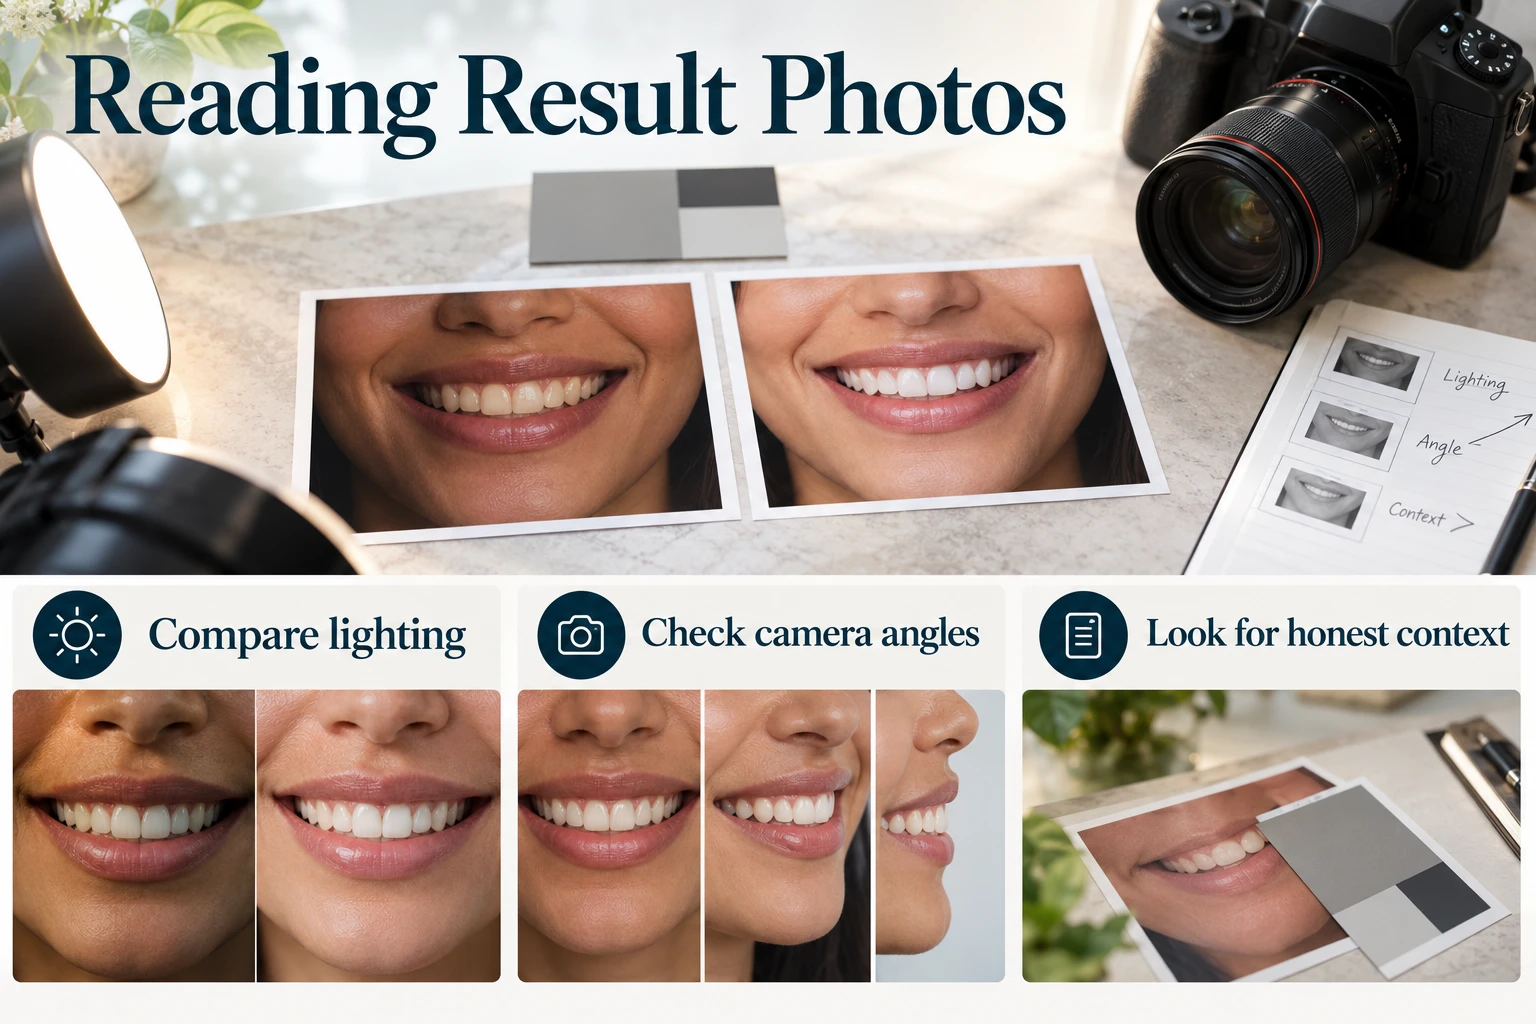
Before and after photography is the main way whitening results are communicated, and the easiest thing on any dental website to distort — often without anyone intending to deceive. A few ordinary photographic choices can double the apparent size of a change. What follows applies to any images published here in future as much as to images published anywhere else.
Lighting
The brightness, direction and colour temperature of the light source change the apparent shade of a tooth more than most people believe. A “before” taken in a shaded corner under warm room lighting and an “after” taken beside a window or under a clinical lamp will differ substantially even if nothing was done to the teeth. In a fair comparison the light is identical in both frames. Look at the shadows under the nose and the highlights on the lips — if their character changes, the lighting changed too.
White balance
White balance is the camera’s decision about which part of the scene counts as neutral. Shift it cool and everything, teeth included, takes on a bluer, whiter cast; shift it warm and the same teeth look yellow. Because this control acts directly on the axis whitening is judged on, it is the most consequential setting in dental photography. A trustworthy pair is shot with a fixed manual white balance, ideally with something neutral in frame — a grey card, a retractor of known colour — against which the rendering can be checked.
Exposure
Overexposure pushes bright areas towards pure white, and teeth, among the brightest things in a portrait, lose detail first. An overexposed “after” can look brilliantly white simply because the highlight information has been clipped away. The giveaway is teeth that look flat and featureless, with no surface texture and no translucency at the biting edges. Real enamel is never a uniform block of white.
Lip retractors
Retractors hold the lips clear so the full arch is visible. They also change the picture considerably: more tooth is exposed, the gums are stretched paler, the mouth is lit more directly, and the teeth begin drying immediately. A comparison in which the “before” is a relaxed smile and the “after” is retracted is not comparing like with like. Either both should be retracted or neither.
Background and surrounding colour
Colour perception is relative: the same tooth looks lighter against a dark background and duller against a bright white one. A change of clothing, a different backdrop, a tan acquired in between, or lipstick in one frame and not the other all shift the impression without any change in the teeth. Consistent comparisons use the same neutral backdrop and keep strong colours out of frame.
Angle, distance and lens
Moving the camera closer with a wide lens enlarges whatever is nearest, usually the upper front teeth, and tilting the head changes which surfaces catch the light. Fair pairs are shot from the same distance, at the same focal length, with the head in the same position.
Time of day and hydration
Teeth photographed immediately after a session are dehydrated and read lighter than they will a day later, so an “after” captured then is a photograph of a temporary state. The most honest galleries say when the after image was taken; the most useful take it around two weeks later.
A practical checklist
- Is the lighting visibly identical in both frames, judged by shadows and highlights on the skin?
- Do skin tone, lip colour and background render the same in both images?
- Is surface texture and edge translucency still visible, or flattened by exposure?
- Are both images retracted, or neither, and is the head at the same angle?
- Is it stated how long after treatment the after image was taken?
- Is the same shade tab shown in both frames, held in the same position?
None of this makes before and after images untrustworthy in principle. Photographed properly they are the clearest record a practice can keep, and far more informative than a shade number alone. The value of an image simply depends on the discipline behind it, and a reader is entitled to ask what that discipline was.
Restorations Do Not Change Colour
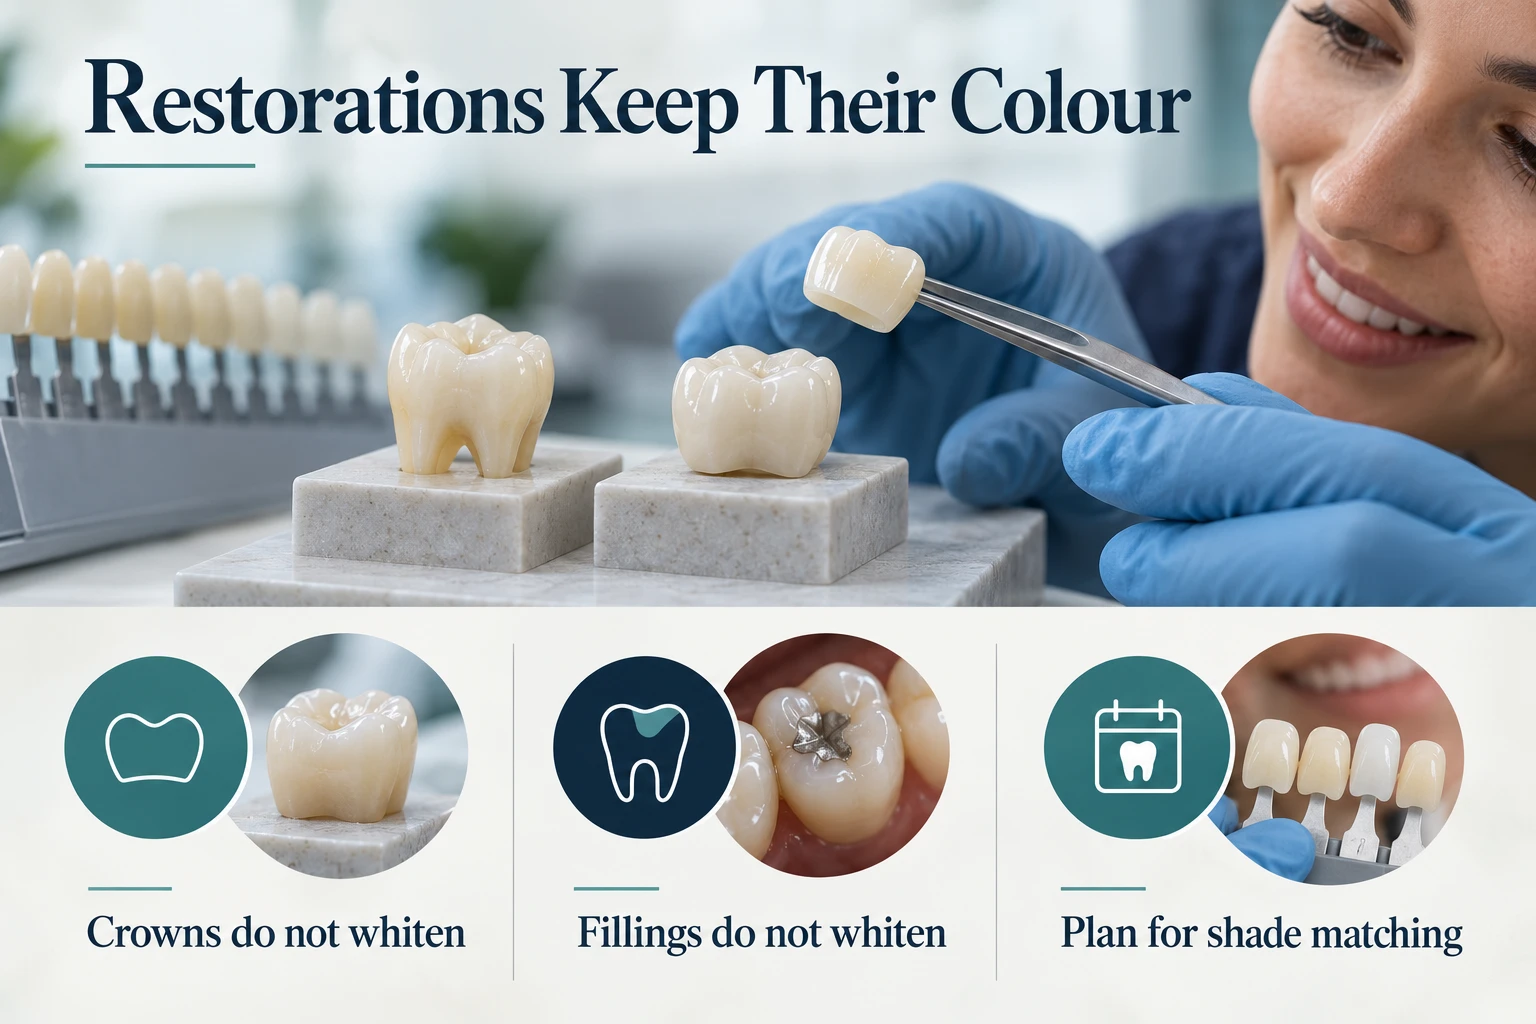
Whitening agents act on natural tooth structure and have no meaningful effect on the materials used to repair or cover teeth. Ceramic crowns, porcelain and composite veneers, composite fillings, bonding and denture teeth all keep the shade they were manufactured or placed at, however long a gel is left in contact with them.
The consequence is a mismatch that appears only once treatment succeeds. A composite filling carefully matched years ago to the tooth around it becomes obvious as soon as the surrounding enamel lightens, and a crown that previously blended can end up looking darker or more yellow than its neighbours. Nothing has happened to the restoration; the reference point around it has moved.
This is why sequencing matters. The established approach is to whiten the natural teeth first, allow around two weeks for the shade to settle, and only then plan, match and place any new restorative work against the final colour. Reversing that order almost guarantees a mismatch and usually means paying to replace work that was perfectly good.
A pre-treatment examination should therefore inventory every visible restoration and how conspicuous a mismatch would be. Some people, understanding the trade-off, whiten and accept the difference; others replace one or two restorations afterwards; others decide whitening is not worthwhile because too much of the visible smile is material that will not change. All three are reasonable, and what separates them is information given at the right moment. The page covering treatment costs is a sensible place to consider the budget implications of replacement work.
Uneven and Patchy Results
It is common to look in the mirror partway through a course of whitening and see a result that is not uniform. Understanding the mechanisms removes most of the alarm, because the great majority of uneven results either settle by themselves or have a straightforward correction.
Trays that do not fit properly
A custom tray made from an accurate impression or scan holds gel in even contact across every surface. A generic or poorly fitting tray traps thicker gel in some areas, leaves others barely covered, and can push material onto the gums where it irritates rather than whitens. Uneven contact produces uneven lightening, and the fix is a better-fitting tray rather than more gel.
Plaque and calculus blocking contact
Deposits act as a barrier. Wherever calculus sits — commonly on the inner surfaces of the lower front teeth and along the gum margins — the gel cannot reach the enamel beneath. This is a large part of why a professional clean beforehand is a precondition for an even result rather than an upsell.
Banding and natural variation within the tooth
Teeth are not uniformly coloured to begin with. The area near the gum is slightly darker because enamel is thinner there, and the biting edge is often more translucent and can look greyer. As the body of the tooth lightens, these existing differences become temporarily more noticeable before evening out.
White spot lesions rebounding
Pre-existing white patches — early demineralisation, or marks left after orthodontic brackets — often become more prominent during the first days, because they dehydrate and lighten faster than the enamel around them. This is a common cause of mid-treatment worry. In many cases the surrounding enamel catches up and the contrast reduces; where a mark remains conspicuous, other approaches can be discussed.
If unevenness persists once the shade has settled, the right step is to return to the registered dental professional who provided the treatment rather than extend or intensify home use. Continuing beyond the agreed protocol increases the risk of sensitivity and gum irritation without addressing the cause.
How Long Results Last
Whitening is not permanent, and no honest account of results can leave that out. Teeth meet pigment every day, and the processes that produced the original discolouration begin again the moment treatment stops. What varies is the pace.
The pattern is a curve rather than a cliff: the first stretch tends to hold well, followed by a slow, largely unnoticed drift as everyday chromogens accumulate. Because the change is gradual and you see your own teeth daily, most people become aware of it only when comparing a recent photograph with one taken shortly after treatment — another argument for keeping a standardised record.
The main drivers are behavioural. Frequent tea, coffee, red wine or cola reintroduces pigment continually, and sipping slowly over an hour keeps the teeth bathed in it far longer than drinking the same volume quickly. Tobacco use accelerates the return markedly. Thorough daily brushing and interdental cleaning slow it, because pigment binds most readily to the film that builds up on an uncleaned surface, and regular professional cleaning removes deposit before it becomes established.
Many supervised programmes anticipate this by including occasional short top-up wear using the trays already made, at intervals agreed with the clinician. Used as directed, this maintains the result with far less total exposure than repeating a full course; used without supervision it becomes overuse, and there is no benefit in pushing past the point at which the tooth has given up all the colour it can. The general introduction to whitening sets out why supervision matters, and the page on choosing a provider covers what a structured maintenance plan should include.
A psychological effect is worth naming too. After a few weeks the new shade stops registering as new and simply becomes what your teeth look like. That adaptation is normal and a poor reason to seek further treatment. Comparing against your recorded baseline, rather than your current impression, keeps the judgement grounded.
When Whitening Is Not the Route to the Result You Want
Whitening changes one property of a tooth: its colour. Many of the things people dislike about their smile are not colour problems, and no amount of whitening will address them. Recognising this early prevents disappointment that is often blamed on the treatment.
Alignment
Crowding, rotation, spacing and an uneven smile line are positional. Whitening a crooked tooth produces a lighter crooked tooth. Where alignment is the real concern, orthodontic assessment is the relevant conversation, and whitening is frequently carried out afterwards rather than instead.
Shape and proportion
Teeth that are short, worn flat or noticeably different in size from their neighbours present a shape issue. Wear from grinding changes proportions and exposes more dentine at the biting edges, which can make teeth look darker there in a way whitening does not correct. Addressing the cause of the wear comes first.
Chips, cracks and worn edges
Physical damage needs physical repair; bonding or composite build-ups rebuild the missing structure. Since those materials will not whiten later, the sequencing point applies again: colour first, repair second.
Gum health and gum appearance
Red, swollen or bleeding gums indicate active inflammation, and whitening should not proceed until that is treated, both for comfort and because irritated tissue tolerates gel poorly. Receding gums create a separate issue whitening cannot solve: exposed root is dentine and cementum, naturally darker than enamel and considerably more sensitive to whitening agents.
A thorough consultation identifies which of these apply before anything is agreed. Age and individual suitability also need to be considered before whitening treatment, particularly for younger patients. Further information about Treatment For Young People Nottingham explains the considerations relevant to younger people. If you are unsure which category your situation falls into, the first step is an examination by a registered dental professional; general enquiries can be raised through the contact page.
Frequently Asked Questions About Whitening Results
How many shades lighter will my teeth go?
No honest answer can be given before an examination. The change depends on your starting shade, the type of discolouration, the thickness and translucency of your enamel and the colour of the dentine beneath it. A registered dental professional can record your baseline and describe a realistic range. A figure quoted before anyone has looked at your teeth is guesswork, however confidently stated.
Why do my teeth look brighter immediately afterwards than a week later?
Enamel dehydrates during treatment, making it temporarily more opaque and lighter in appearance. As saliva rehydrates the surface, natural translucency returns and some of that immediate brightness settles back. Nothing is being lost. The shade assessed around two weeks afterwards is the fair one to judge by.
Will my crowns, veneers and fillings whiten too?
No. Ceramic, composite and other restorative materials do not respond to whitening agents at all, so a restoration that previously blended may look darker against newly lightened natural teeth. This is why treatment is sequenced with whitening first, a settling period afterwards, and any new restorative work matched to the final result.
Is a shade guide an exact measurement?
It is a comparative visual tool rather than a precise unit: a set of physical tabs arranged from lighter to darker, read by eye against your tooth. Lighting, surrounding colours, the guide used and even eye fatigue influence that judgement, which is why standardised conditions matter more than the number itself.
Why has my result come out patchy?
Patchiness usually has a mechanical or biological explanation: a tray holding gel unevenly, plaque or calculus blocking contact, banding within the tooth lightening at different rates, or white spot lesions becoming temporarily more visible. Much of this evens out as the shade settles; anything that persists should be reviewed by the clinician who provided the treatment rather than treated with extra gel.
How long will the result last?
Results fade gradually rather than ending at a fixed point, and the pace depends on diet, tobacco use, oral hygiene and whether occasional supervised top-up wear forms part of the plan. Someone drinking several cups of strong tea or coffee daily will see colour return sooner. Gradual fading is expected behaviour, not treatment failure.
The information on this page is educational and general. It is not dental advice, it does not describe any individual’s treatment, and it cannot predict what whitening would achieve for you. Individual results vary considerably for the biological reasons set out above. Any decision about Teeth Whitening should follow an examination and discussion with a registered dental professional who has assessed your teeth and gums in person.